
Invoices are the backbone of your accounts receivable workflow in QuickBooks desktop every time a customer owes you money for a product or service, an invoice is how you record it, track it, and eventually collect on it. QuickBooks makes creating them straightforward, but the path you take depends on where in your workflow the invoice is coming from.
If you’re starting fresh with no prior estimate or sales order, you create the invoice from scratch. If you’ve already created a sales order or estimate that the customer has agreed to, QuickBooks lets you convert that directly into an invoice rather than re-entering everything. This article covers all three paths. If you need help at any point, our team is available at +1-888-510-9198.
Note: Creating an invoice is part of your usual A/R workflow in QuickBooks.
Must Read: How to Fix Invoice Formatting Issues with QuickBooks?
Steps to create an invoice in QuickBooks Desktop from scratch
An important point to note here is that if your business doesn’t need creating sales orders or estimates, then the A/R workflow starts with creating the invoice. The steps involved in this procedure are as follows:
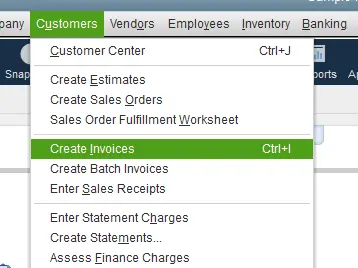
- Initially, you need to head to the home screen or the customers menu and choose the create invoices option.
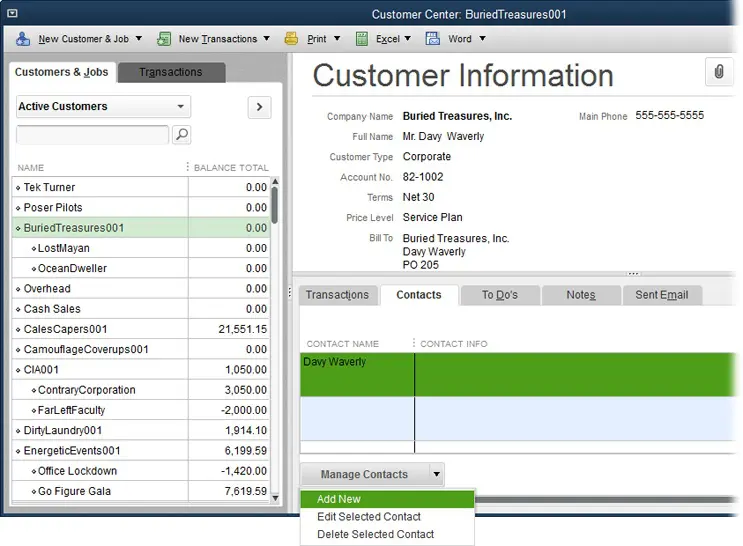
- Further, from the customer: Job drop-down, you need to pick a customer or customer job.
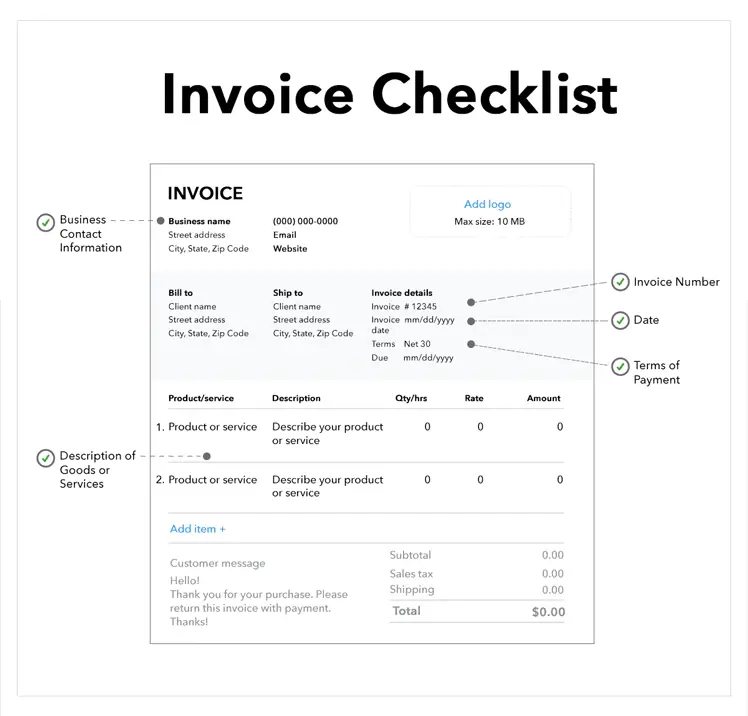
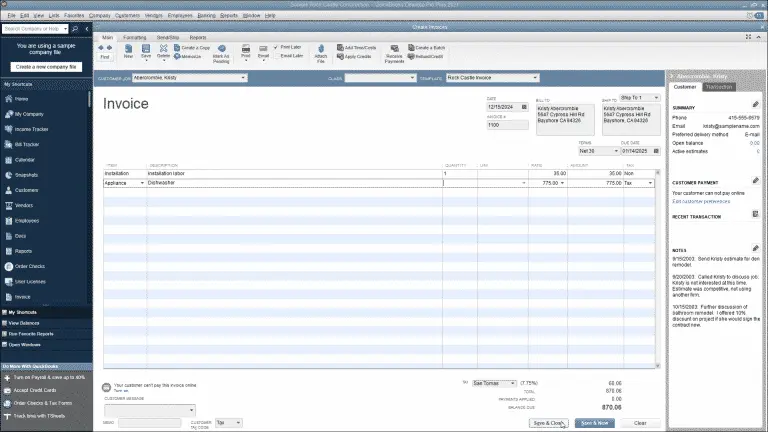
- Heading forward, fill in the relevant information at the top of the form like the date invoice #, bill to/sold to, and terms.
- Now, in the detail area, choose the item/s. Further, when you choose or add an item, the description and the amount are populated automatically depending upon the description and unit cost entered when it was set up.
- Moreover, you can delete or modify this when creating invoices.
- In case you wish to apply for a discount, you need to create a discount item. (This step is not mandatory).
- For this, you need to scroll the lists menu from the home screen.
- Further choose item list.
- Also, right click anywhere and choose new.
- You now have to choose the type drop down and select discount.
- Once done with that, enter an item name/number and a brief description.
- In the amount or % field, you need to enter the discount amount or percentage.
- Just in case the discount amounts vary, then you might want to leave the amount or % field blank and further enter the amount directly on the sales forms.
- From the account drop down, you need to choose the income account you want to use to track discounts you give to customers.
- Further, choose the right tax code for the item.
- Hit ok tab.
- End the procedure by selecting save and close tabs respectively.
Related Article: How to Turn off Sales Tax in QuickBooks Online
Steps to create an invoice for a sales order
Just in case you have created a sales order and filled it, then you might have to create an invoice. This can be done in two ways. Let us evaluate each of the ways one by one:
From the sales orders window
If you’re already looking at the sales order you want to invoice:
- The very first step is to choose create invoice tab on the sales orders main tab.
- Now, select any of the two options from the prompt that shows up on the screen:
- Choose create invoice for all of the sales order(s) to add all the items from the sales order to the invoice.
- Go for Create invoice selected item, in case you want to put only some of the items on the invoice.
- Perform necessary changes to the invoice.
- Also, note that in the list of items, you need to enter a quantity in the To invoice (or invoiced) column for each item. In case you don’t want to invoice any of the listed item, enter the quantity as Zero
- The last step is to choose save and close.
From the invoice window
Alternatively, start from the invoice side and pull in the sales order:
- Here you need to head to the QuickBooks home screen or the customer menu and choose create invoices.
- Furthermore, on the customer: job drop-down, choose a customer or customer job.
- The available sales order window will show up on the screen.
- You now have to choose one or more sales orders having items that you are planning to include in the invoice.
- Perform necessary changes. Also, in the items list, enter the quantity in the To invoice (or invoiced) column for each item.
- Just in case you don’t wish to invoice any of the listed items, add quantity as zero.
- Towards the end, choose save and close.
You might find this helpful: QuickBooks Desktop 2024 Download, Pricing, and Features
Steps to create an invoice for an estimate
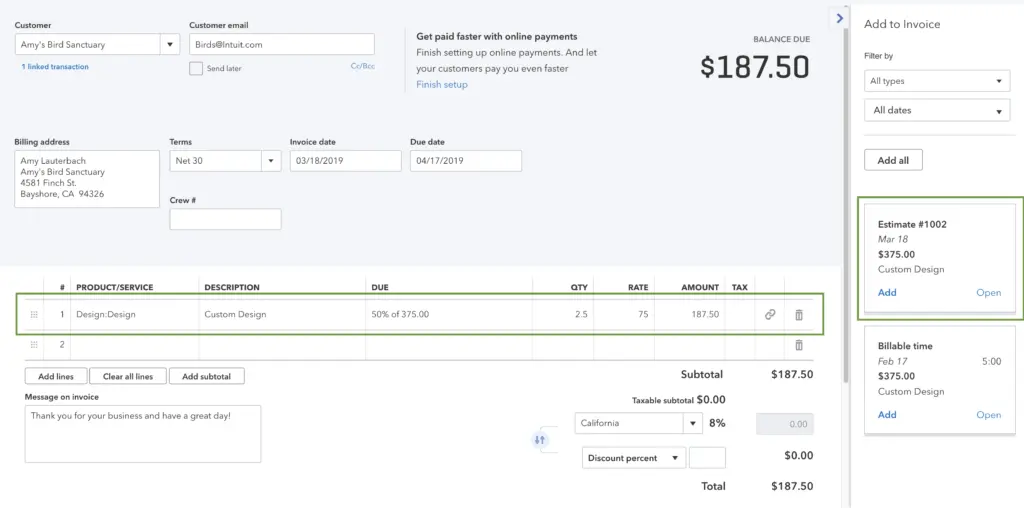
In situations where the customer accepts the estimate and agrees to pay a fixed amount (instead of the actual time and costs), then you can simply turn that entire estimate into an actual invoice. This can be done in any of the two ways enumerated below. Let us explore the steps in both the cases one by one:
From the estimate window
- Start by opening the correct estimate.
- After that, choose create invoice at the top of the estimate form.
- In case you have progress invoicing turned on, then there are chances that you get a prompt that would ask for the items and quantities to put on the invoices.
- You will have to specify the required information.
- And after the invoice appears, edit the information as required.
- At the end, choose save and close, and you are good to go.
From the invoice window
- Under this procedure, you need to navigate to the QuickBooks home screen or the customer menu and further opt for create invoices.
- Once done with that, on the customer: job dropdown, you need to choose a customer or customer job. The available estimates window show up.
- Now, pick the estimate you wish to include in the invoice.
- Further note that QuickBooks only allow you to choose one estimate to invoice.
- Also, if you have progress invoicing turned on, then you might get a prompt asking what you want to have on the invoice.
- Specify whatever asked to.
- And after the invoice appears, edit the information required.
- Lastly, choose save and close to end the process.
Also Read: How to Setup QuickBooks Invoicing For Gmail: Send Invoice to Your Customer Through Gmail?
Conclusion!
Once you know which starting point applies to your situation from scratch, from a sales order, or from an estimate the invoicing process in QuickBooks Desktop is genuinely quick. The key decision is always at the beginning: if you’ve already created a sales order or estimate, converting it to an invoice (rather than starting fresh) saves time and keeps your records consistent throughout the A/R workflow.
If you run into any issues during the process like a customer not appearing in the dropdown, discount items not calculating correctly, or progress invoicing behaving unexpectedly our certified QuickBooks ProAdvisors are available at +1-888-510-9198 to help you get it sorted quickly.
FAQs Related to Create invoice in QuickBooks Desktop
For this, you need to perform the steps below:
1. Move to the sales tab.
2. After that, choose invoices or estimates.
3. Once done with that choose create invoice or estimate to create a new form.
4. Or to edit the existing form, choose an invoice or estimate from the list and choose view/edit.
You can send an invoice from QuickBooks desktop using the set of steps below:
1. Move to the sales tab.
2. After that, choose invoices.
3. You now have to find the invoice you wish to email in the action column.
4. Now, select the drop-down arrow and hit send.
To create a new bill in QuickBooks, you need to:
1. Choose + new
2. Select bill
3. From the vendor ▼ dropdown, choose a vendor
4. After that, from the terms ▼ dropdown, choose bill’s terms.
5. Furthermore, enter the bill details in the category details section.
6. And also enter the amount and tax.
An estimate in QuickBooks is a non-posting document it gives the customer a cost preview of a job or project but doesn’t affect your accounts receivable or financial reports. An invoice, on the other hand, is a posting document that records the sale, adds to your A/R balance, and affects your income reports. When a customer approves an estimate and is ready to be billed, you convert it to an invoice using the steps in the third section of this guide.
Yes, once you’ve saved the invoice, you can email it directly to the customer from within QuickBooks. Click the Email button at the top of the invoice (or go to File > Send Forms), confirm the customer’s email address, and send. QuickBooks uses either Outlook or Webmail depending on how your email is configured in Preferences. If you haven’t set up email in QuickBooks yet, the steps to do so are covered in our QuickBooks email setup guide.
Other Related Articles:
QuickBooks Desktop 2023 – Pricing, Features and Download
How to print W-3 form in QuickBooks Online and Desktop?